Golf Simulator Flooring and Lighting: Setup Guide
Golf simulator flooring and lighting done right: a level, quiet base under the mat, and even light that never falls on the screen. The finishing details.
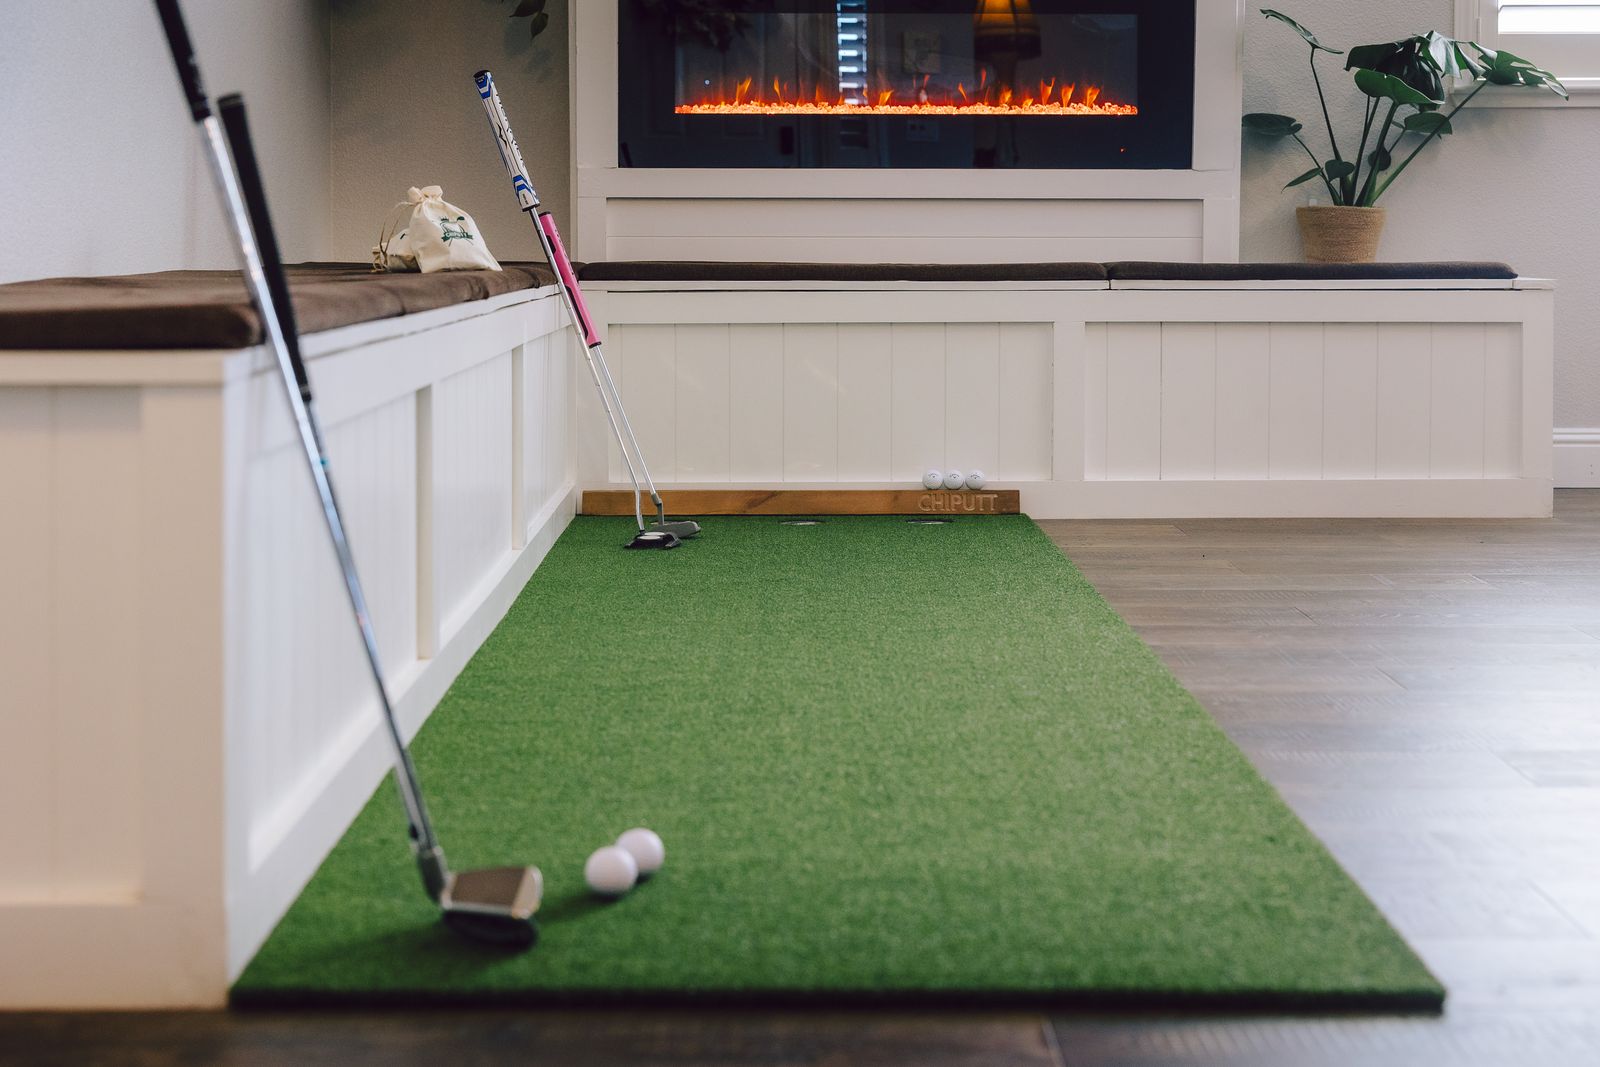
Good golf simulator flooring is a level, quiet base under the mat: rubber or foam underlayment over the subfloor to kill vibration and protect it, with turf surrounds for a finished look. Good lighting is even and indirect, placed so no light falls on the impact screen, which washes out the image, and so you never cast your own shadow across it. Get the floor level and the light off the screen, and the bay both plays right and looks like a real room instead of a project.
| Element | Do this | Avoid |
|---|---|---|
| Base | Level the floor, add rubber or foam underlayment | Uneven or bare concrete under the mat |
| Floor protection | Turf or foam-tile surround around the mat | A bare floor in the impact zone |
| Light placement | Indirect light beside or behind the hitter | Any light aimed at the screen |
| Light type | Even, dimmable LED from several sources | One overhead bulb casting your shadow |
Flooring: start level and quiet
Before anything else, the floor under your bay has to be level. A sloped or uneven garage slab throws off your stance and the ball’s rest position, which quietly corrupts everything the launch monitor reads. Level it first, with a subfloor or leveling compound if the slab is bad. Then lay rubber or foam underlayment under the mat: it kills the vibration and thud that travels through a hard floor, protects the slab or subfloor beneath, and makes long sessions quieter for everyone else in the house.
Protect the floor and the walls
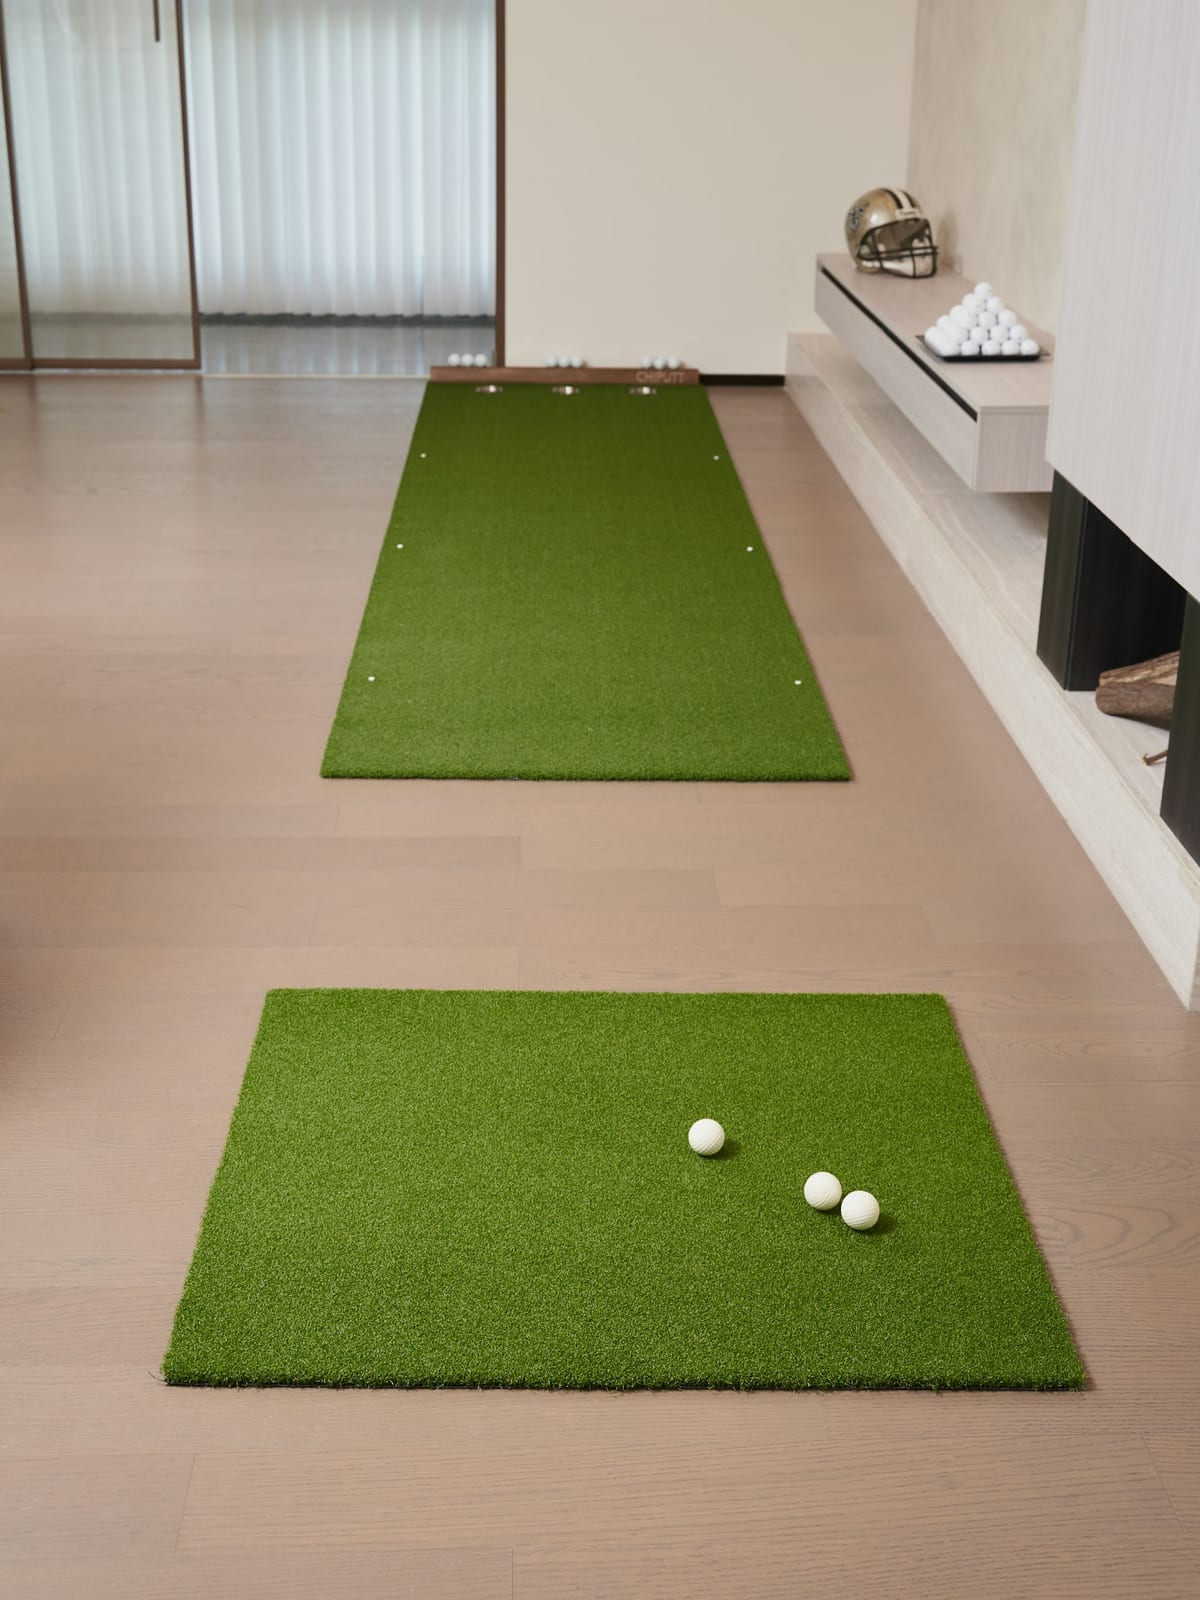
Two things take abuse in a bay: the impact zone under and in front of the mat, and the side walls from the occasional shanked shot. For the floor, a turf or foam-tile surround around the mat catches skulled shots and gives the space a finished edge instead of a mat marooned on bare concrete. For the walls, the curtain surrounds that come with a good enclosure catch stray shots on the sides and top. If your enclosure is open on the sides, add side barriers or netting, both to protect the drywall and to keep a mishit from finding a window.
Lighting: keep it off the screen
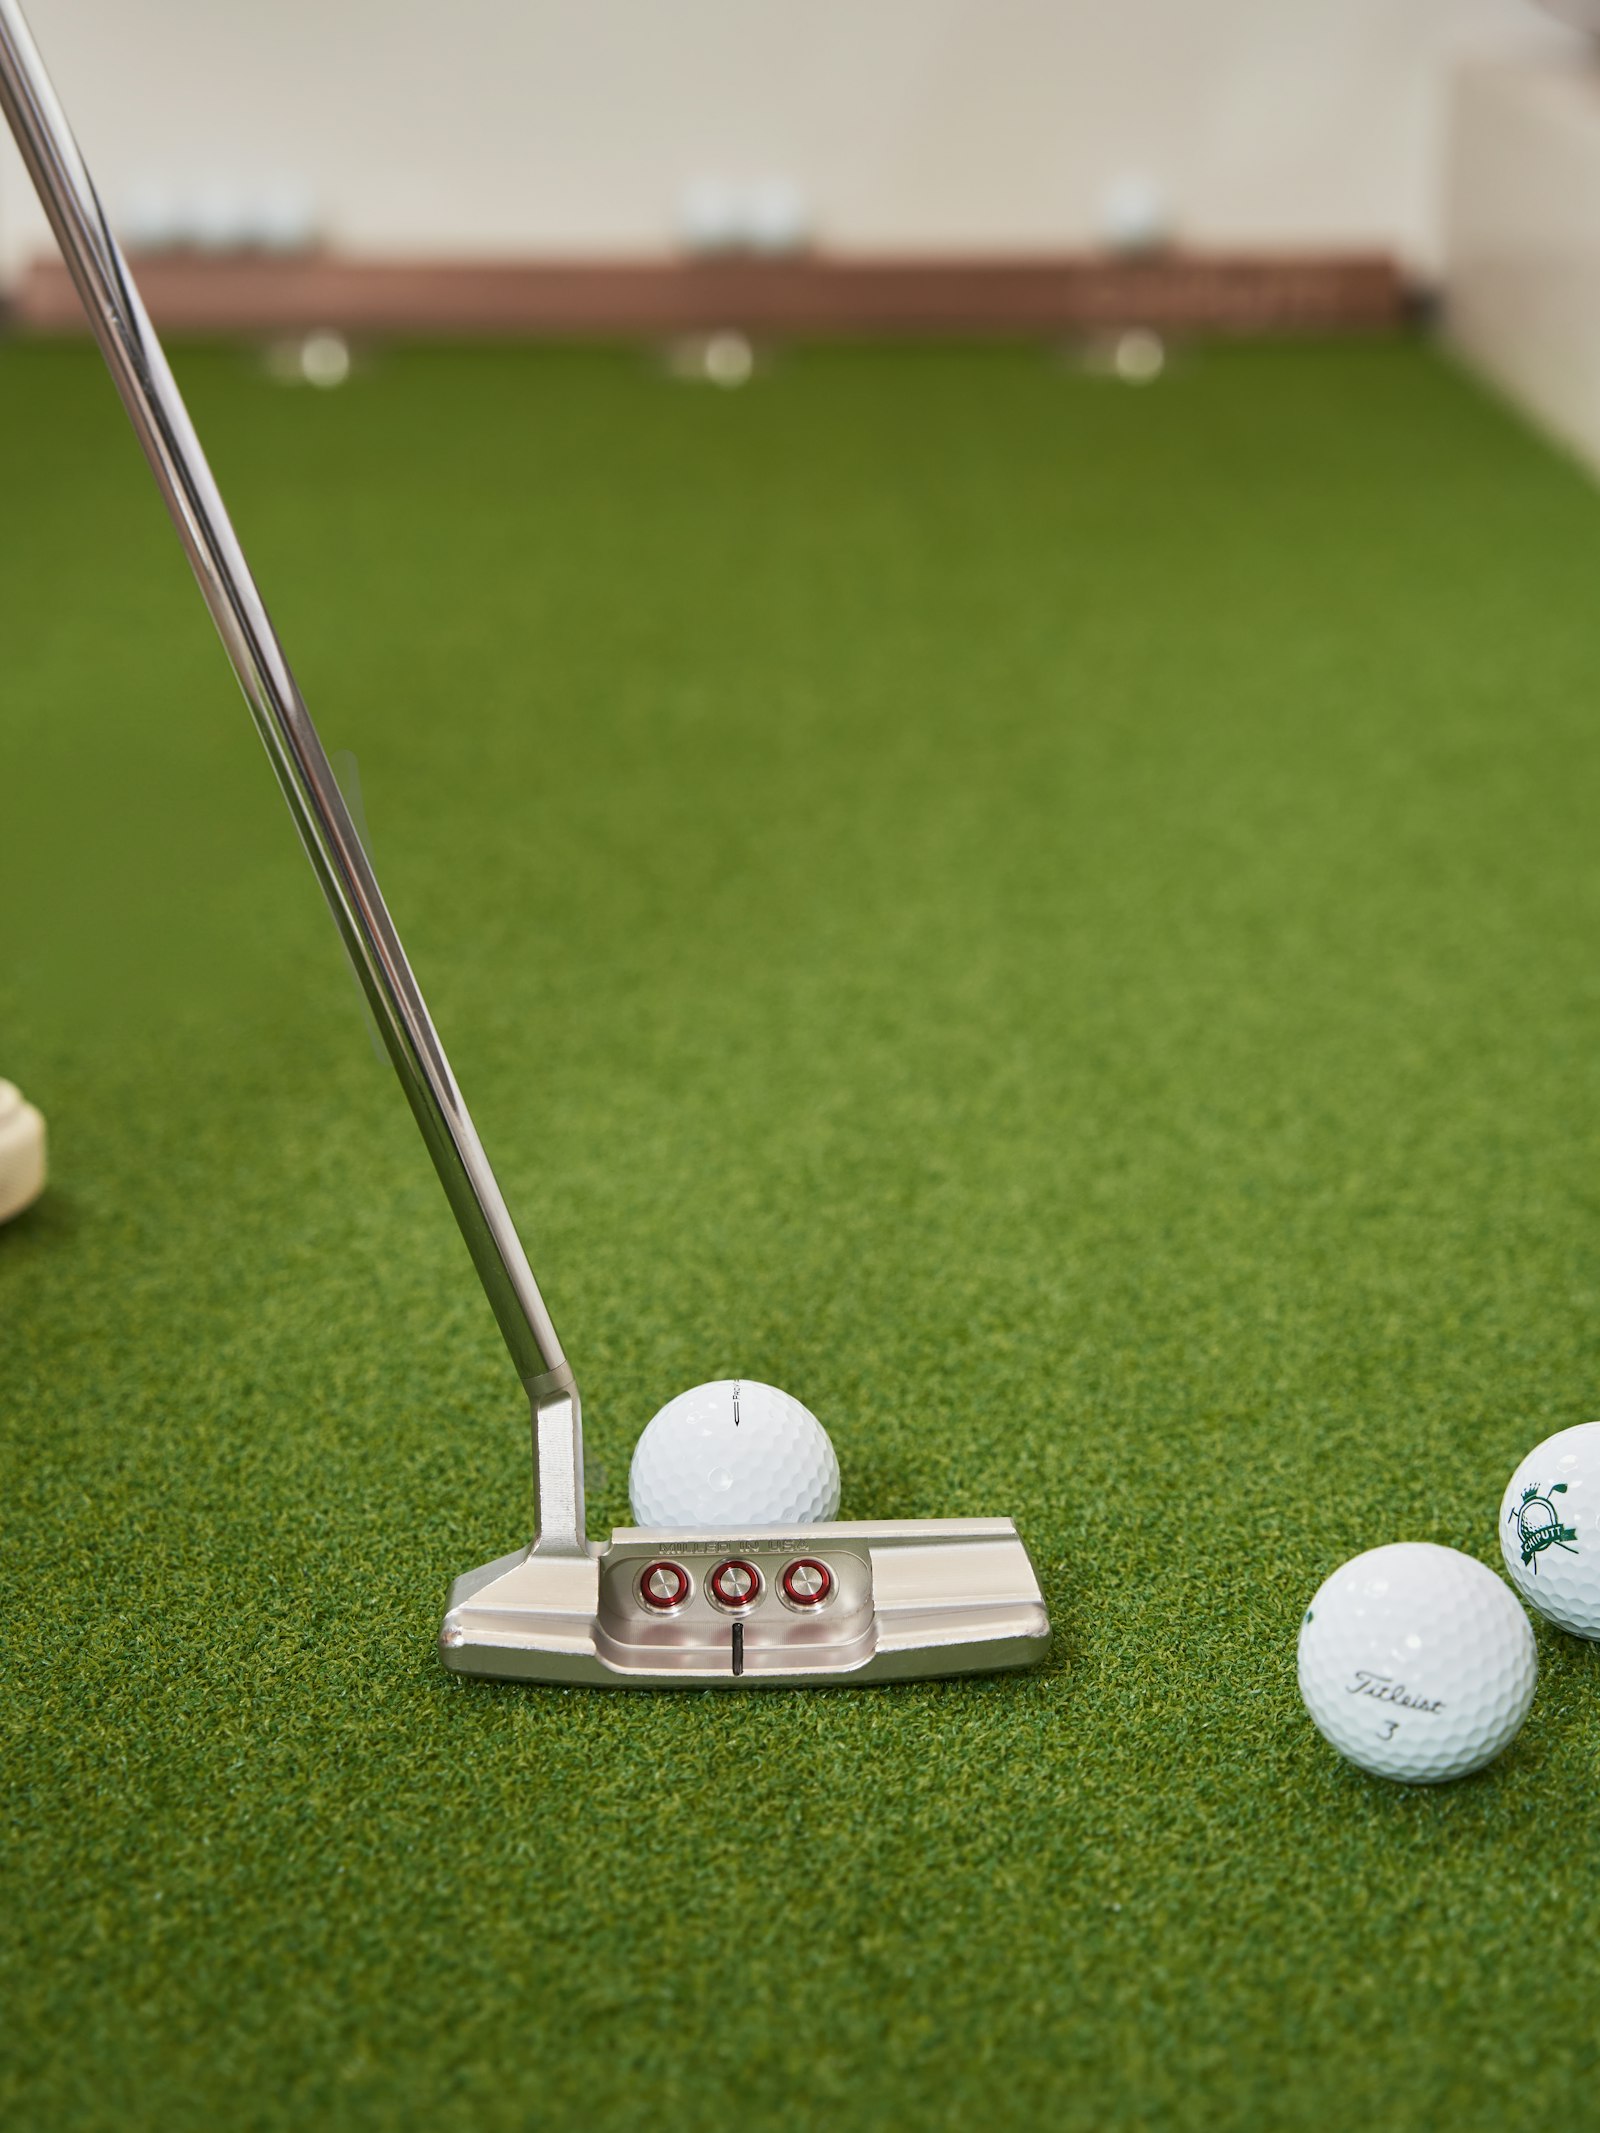
Here’s the single most important lighting rule, and the one most home bays get wrong: no light should fall directly on the impact screen. Light hitting the screen washes out the projected image and is a common cause of the faint, doubled look people mistake for a projector fault. Position your lights beside or behind the hitting position and aim them at the floor or ceiling for indirect, diffuse fill, never at the screen. If you’re troubleshooting a weak image, this and screen tension are the first things to check, as covered in the impact screen guide.
Avoid shadows and glare
The other lighting mistake is a single overhead light behind you, which throws your own shadow straight onto the screen every time you set up over the ball. The fix is even light from several diffuse sources rather than one bright point, so no single shadow dominates. Dimmable LED fixtures are ideal: they run cool, don’t flicker on camera-based launch monitors, and let you dial the room brightness to match your screen instead of fighting it.
Match the light to your screen
Flooring and lighting both feed into one final call: how dark you can make the room. A fully blacked-out room with a white screen gives the punchiest image. If you can’t black it out, because of windows or a shared garage, pair controlled, off-screen lighting with a gray, negative-gain screen that holds contrast in ambient light. The screen and the light have to be chosen together; a great screen in a badly lit room still looks washed out.

The finishing touches
Once the floor and light are right, the small stuff turns a working setup into a room you want to spend time in: run and tuck the projector and PC cables so nothing’s underfoot, add a stool and a club rack, and keep a towel and spare balls within reach. None of it changes how the bay plays, but it’s the difference between a finished space and a pile of gear. It all starts from the same place every part of the build does, the room you measured, so lay it out with the cost configurator and finish it properly.