How to Build a Golf Simulator: Step-by-Step Guide
How to build a golf simulator in eight steps: measure the room, pick a launch monitor, then add the enclosure, screen, projector, mat, PC, and software.
Building a golf simulator comes down to eight parts in a set order: measure your room, choose a launch monitor, build an enclosure (or hang a net), add an impact screen, mount a short-throw projector, lay a hitting mat, set up a PC, and install the software. The room comes first because it decides everything after it, and the launch monitor is the anchor purchase everything else is sized around. Do it in that order and nothing you buy fights the space you have.
| Part | Typical cost | What it does |
|---|---|---|
| Launch monitor | $500 to $7,000 | Reads the shot, the anchor purchase |
| Enclosure or net | $150 to $1,800 | Contains the ball |
| Impact screen | $150 to $760 | Shows the course and takes the strike |
| Projector | $1,500 to $2,900 | Projects the course |
| Hitting mat | $150 to $700 | Where you hit from |
| PC | $900 to $2,500 | Runs the software |
| Software | $250 to $600/yr | The courses and physics |
Step 1: Measure the room first
Everything downstream is sized to your space, so measure before you buy anything. You need ceiling height above all (9 feet is the floor, 10 is comfortable), then depth and width. The full method, including how your launch monitor type changes the depth you need, is in the room dimensions guide. Do this step wrong and you’ll buy hardware you can’t swing under.
Step 2: Choose the launch monitor
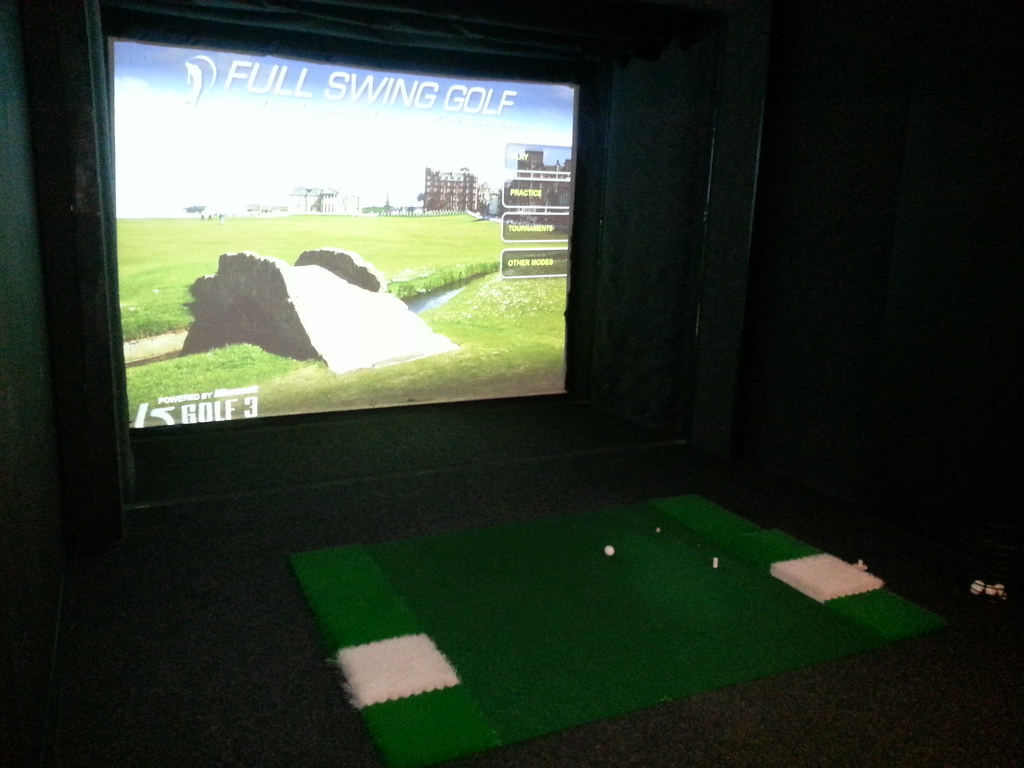
This is the anchor. It’s usually the biggest single line item, and it sets what the rest of the build can be. Budget radar units like the Garmin R10 start at $499.99; photometric and tri-camera units run into the thousands. Start with the budget launch monitor roundup or the full comparison, and remember your room may narrow the field, since radar wants more depth than photometric.
Step 3: Build an enclosure or hang a net
If you’re testing the concept, a net for $150 to $300 is enough. For real course play you want an enclosure: a DIY Carl’s Place kit runs $1,000 to $1,650 and assembles in about an hour, or a pre-built aluminum SIG8 is $1,799.99 with the screen included. The full breakdown is in the DIY enclosure guide.
Step 4: Add the impact screen
The screen shows the course and absorbs every strike, so it’s not the place to cut corners for a daily bay. Budget single-layer screens run $150 to $300 and are the first thing to wear out; a three-layer SIGPRO Premium is $759.99 and lasts. Many enclosure kits, including Carl’s Place and the SIG8, include a matched screen, so check before buying one separately.
Step 5: Mount a short-throw projector
You want a short-throw projector so it fills the screen from a spot that stays out of your swing. A 1080p Optoma GT2100HDR at around $1,499 suits most bays; a 4K BenQ AK700ST is $2,899. Throw ratio matters more than resolution here, and the full logic is in the projector guide.
Step 6: Lay the hitting mat
The mat is what you hit off thousands of times, so comfort and durability matter for your joints and its lifespan. Budget mats start around $150; premium turf mats run to $700. Match the mat’s height to your enclosure and tee setup, and see the components page for the field.
Step 7: Set up the PC
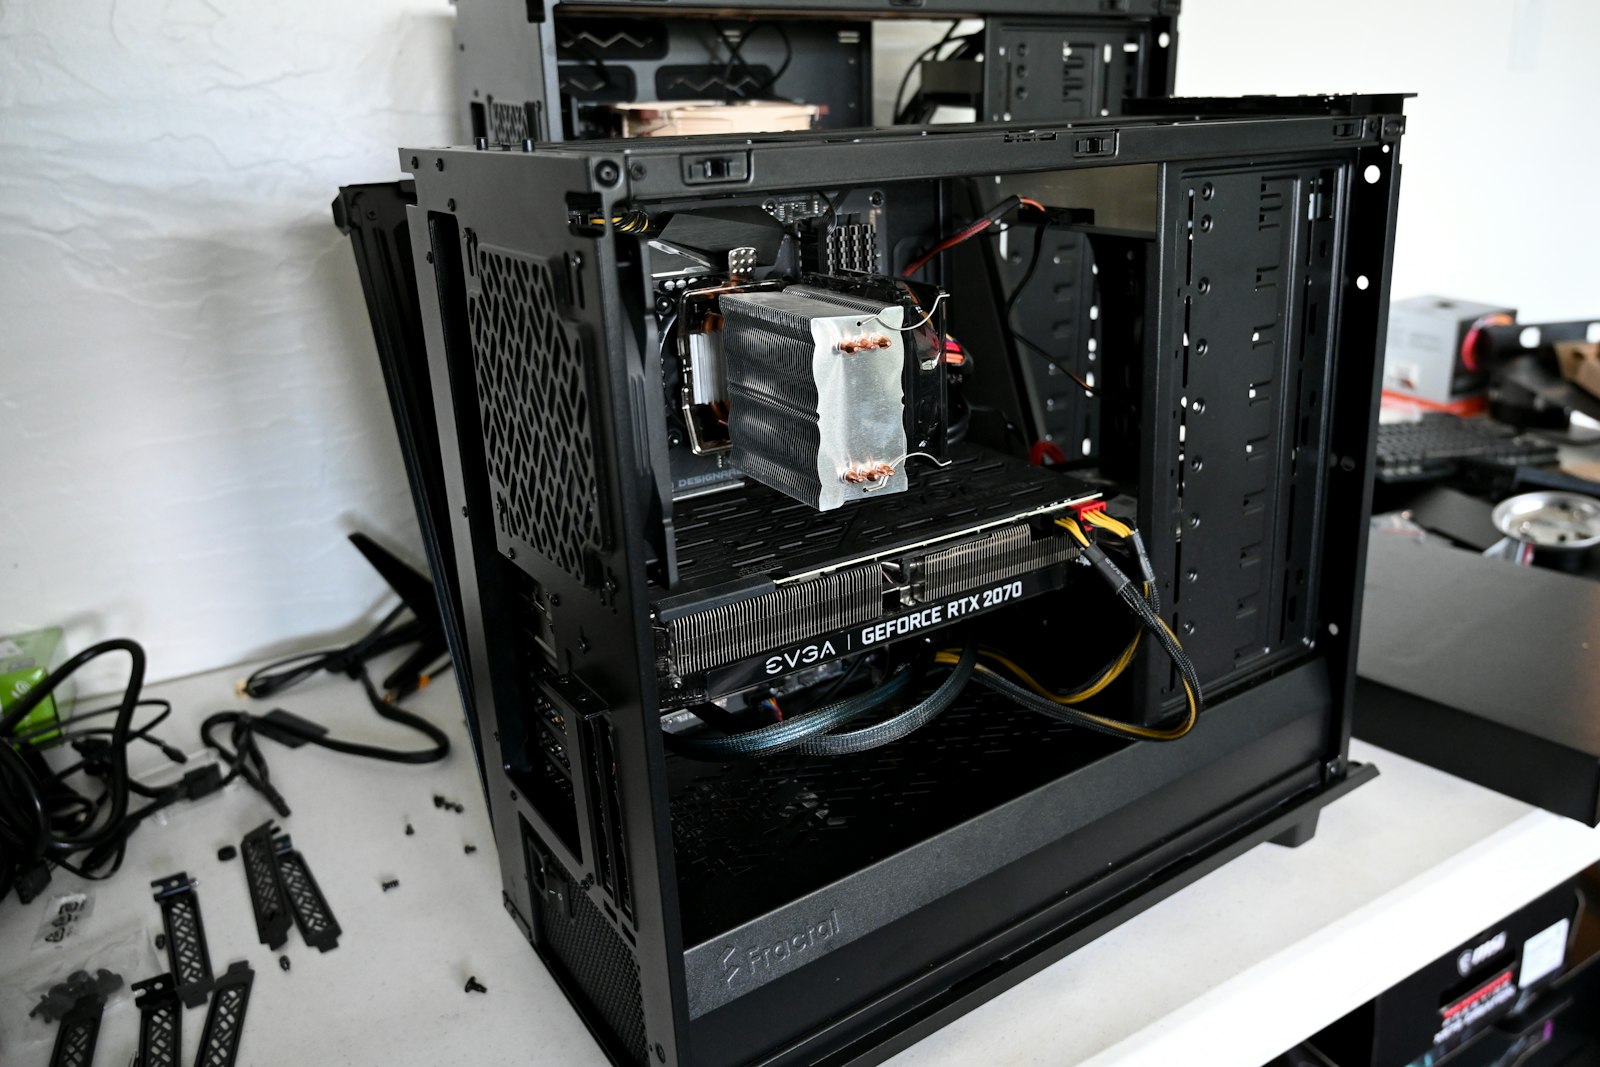
Sim software is GPU-bound, so the graphics card is the spec that counts. An RTX 5060 build ($1,000) runs 1080p; an RTX 4070 build ($2,500) drives 4K. If you already own a gaming laptop with a real GPU, the trial tier lets you skip this cost entirely. The details are in the PC guide.
Step 8: Install the software
Last comes the software that ties it together. GSPro is the default at $250 a year for 2,500-plus courses and strong physics; E6 Connect is the polished, licensed alternative and often ships free with your launch monitor. The GSPro vs E6 comparison covers which to run. Once it’s installed and calibrated to your launch monitor, the bay is done.
What it costs all-in
Add it up and a working simulator runs from about $1,000 for a trial net-and-launch-monitor setup to $32,000 for a premium room, with the full cost breakdown mapping each tier. The fastest way to price your exact parts, in the right order, is the cost configurator: pick your room and budget, and it builds the list for you.